Your cart is currently empty!
The Making of a Hand Sewn Sheath
Here I will describe the making of a hand sewn sheath.
While more time consuming than machine sewing a sheath, hand sewing is stronger and if one of the threads does ever become cut or broken you still have another complete thread running the length of the welt. This is not the case with machine sewing.
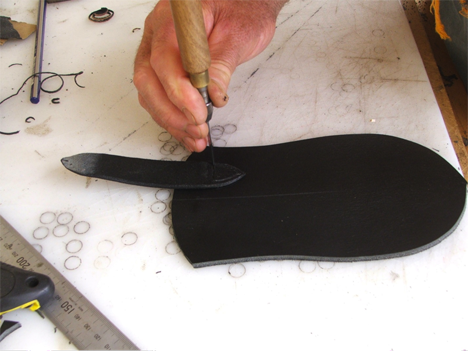
I the first photo I have placed the knife on a manila folder, spine down on the center crease or fold.
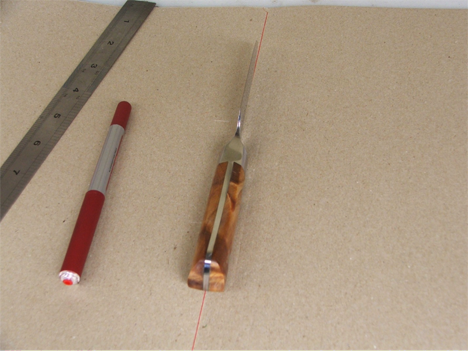
The knife is then turned over on its side and traced around.
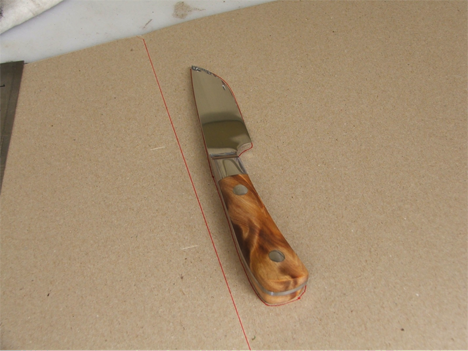
This is how the knife is going to lay in the sheath.

The shape of the sheath can then be drawn around the shape of the knife.
The double lines around the outside are the welt. This needs to be about 12mm wide to allow room to sew through it. You will see a small nipple on the welt against the back of the blade. This is there to catch the knife in the sheath and make sure it is not too loose.
Now fold the manila folder so the drawing of the knife and sheath is on the outside and cut around the outline.
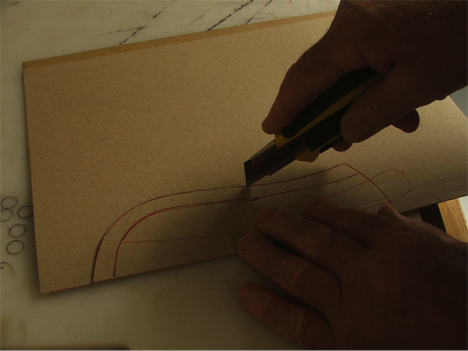
This will give you the shape of the leather to make the sheath from.
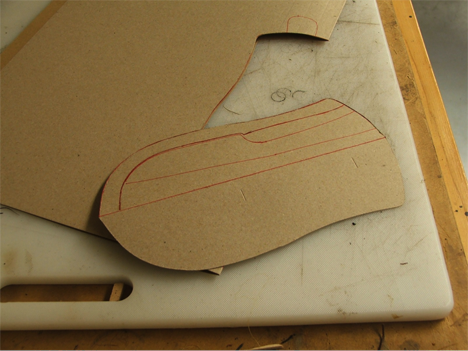
Now fold the manila again and slip the sheath blank over it – trace around it and cut it out.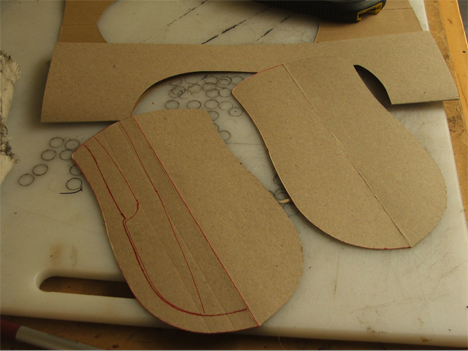
This will give you two identical patterns.
The pattern that has the welt shape on it will be used to make the welt. The other pattern will be used to mark out the shape of the sheath leather.
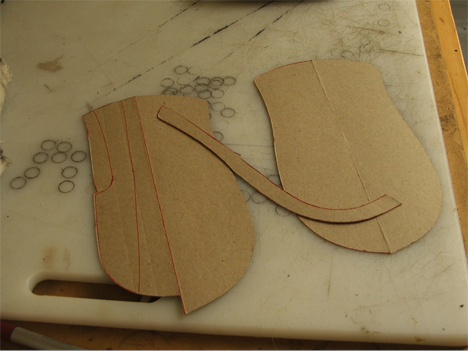
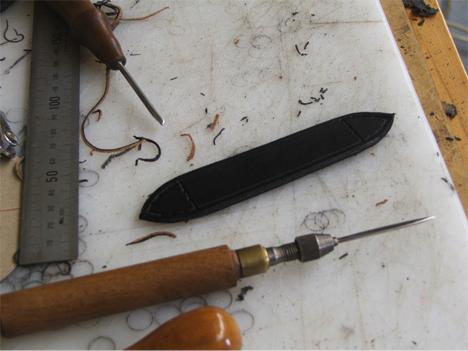
Above you can see the welt cut away from the pattern.
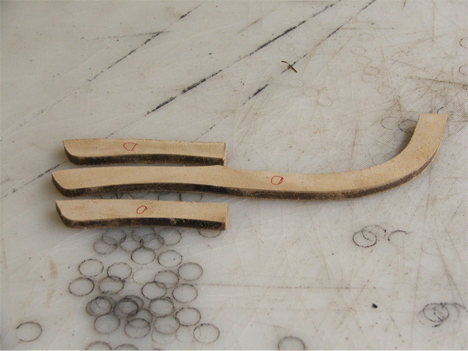
Using that pattern I have cut 3 pieces of leather for the welt.
One the full length. The others to the point where the nipple is on the welt. These are then glued together to build up the thickness of the welt and consequently the sheath to allow for the larger diameter of the handle in the sheath.
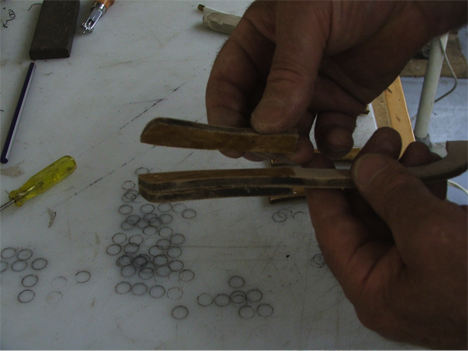
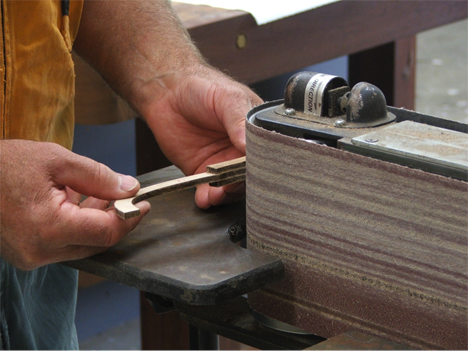
The welt is then sanded down to blend the 2 outer pieces down to the level of the centre piece.
The leather I use for the welt is shoe sole leather. This is compressed leather and very difficult to cut with normal leather working tools. I normally cut it on the bandsaw and sand it to the correct dimensions.
Now the body of the sheath has been cut out using the pattern made earlier and the belt strap cut using a strap cutter.
This is a very useful realitively inexpensive tool that will cut a perfect strap everytime.
The straps I put on my sheaths allow for a 50mm belt.
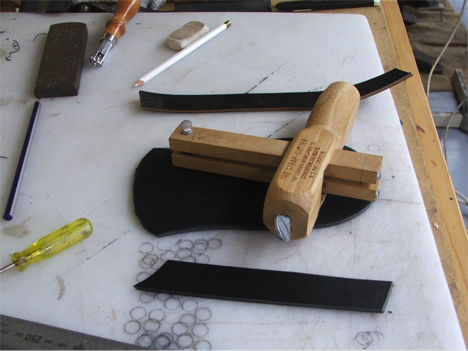
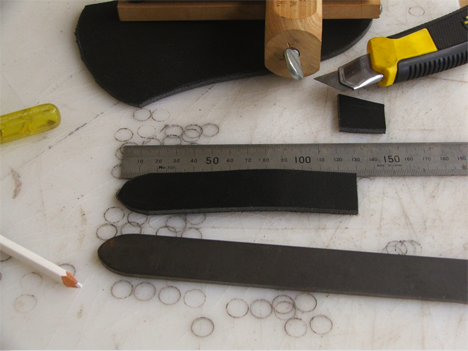
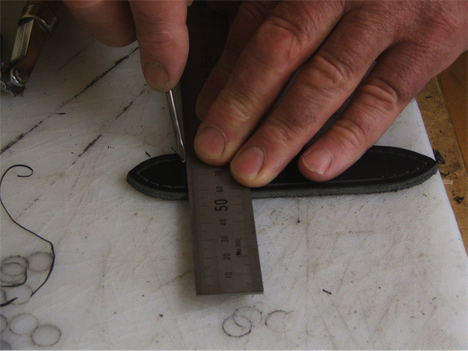
Each end of the strap is cut to shape using the steel pattern you see there.
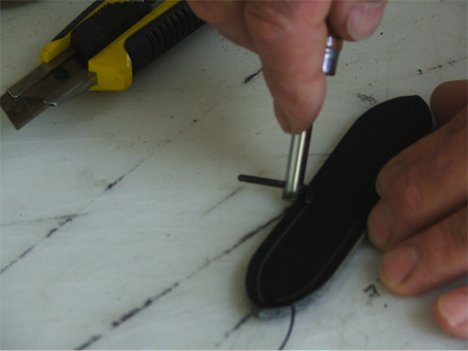
A centerline is marked down the middle of the sheath and a grove cut in the leather to allow the sheath to fold easier. This grove is on the inside of the sheath.
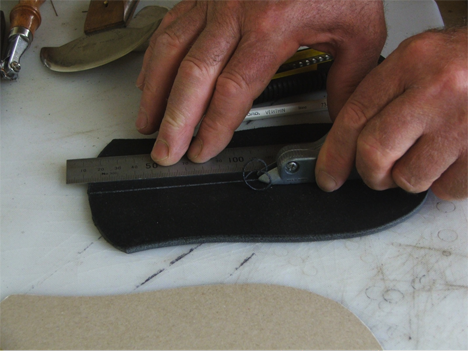
Now take the strap and cut a grove around the outside edge of it. This will be used for the stitching at each end and is decorative down the middle of each side.
Next run an overstitch wheel from the point of the grove at each end of the strap. Mark 4 or 5 stitch marks in each grove. Then cut another grove across the strap between each of the last stitch marks
Having marked the stiches I go over the marks with a needle and punch it through to the other side.
Now skive both ends of the strap down so the leather tapers to the point at each end.
Next trim the edge of the strap all the way around on both sides. This tidies up the appearance of the strap.
Now burnish the edges of the strap. I do this using a piece of antler. This just smooth’s and finishes off the leather.
It is difficult to do this without marking the sheath once the strap is sewn on.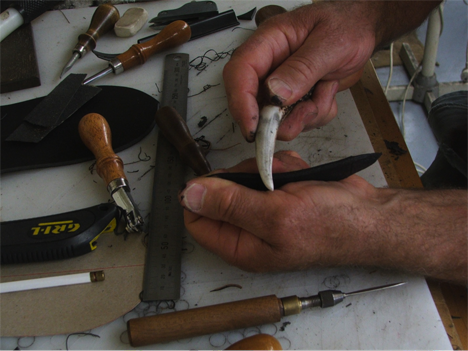
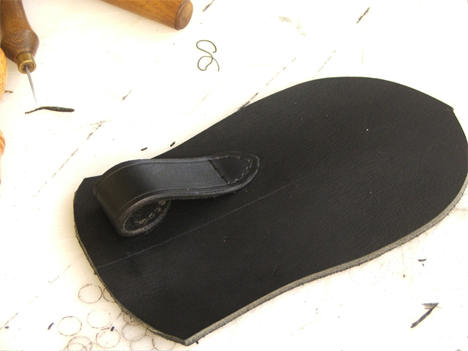
The strap is now ready to be sewn to the main body of the sheath.
Now mark where the strap will be glued on the the sheath body. By putting the welt on the sheath leather you can figure out where the strap should go. It should be about halfway between the welt and the fold in the centerline of the sheath.
Mark around the area of the strap to be glued and remove the leather finish from that area.
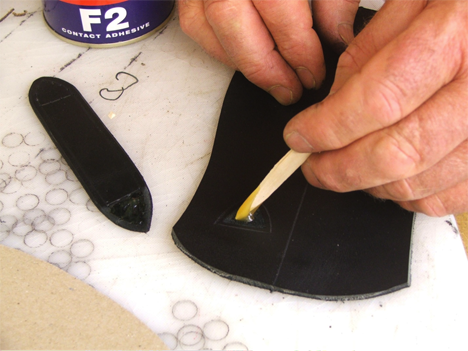
Put contact glue on the strap and the sheath. Be careful how you apply it. I use a sharpened ice block stick. It is unsightly to have glue coming out from under the strap. This glue is only being used to hold the strap in place until it is stitched.
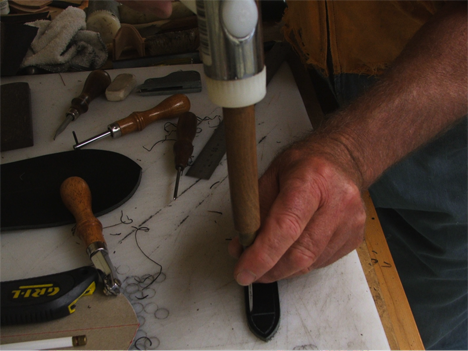
When the glue is ready, place the strap and give it a light blow with a mallet to set it in place. Next using the holes that are already in the strap as guides punch through and make holes in the sheath body.
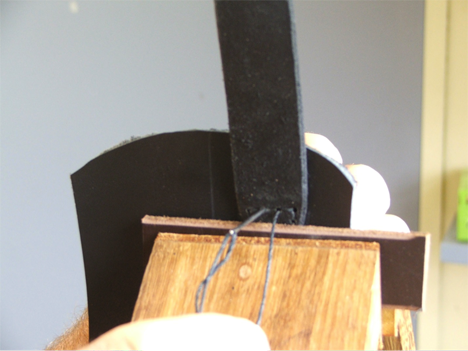
Place the sheath in the stitching pony and stich it up!
Then fold the strap over and mark where it will be stitched on to the sheath at the other end.
Repeat what was previously done by gluing it down, punching the holes and stitching the strap.
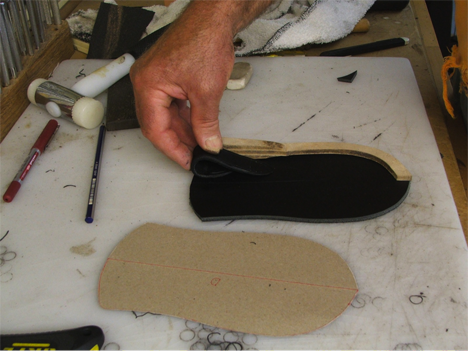
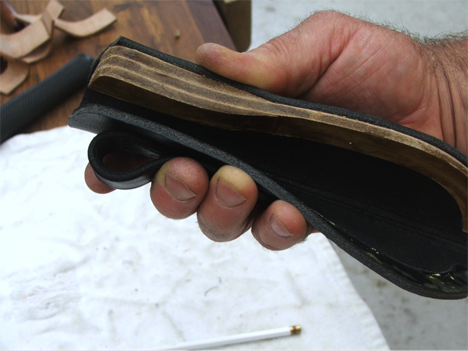
Now it is time to glue the welt into place.
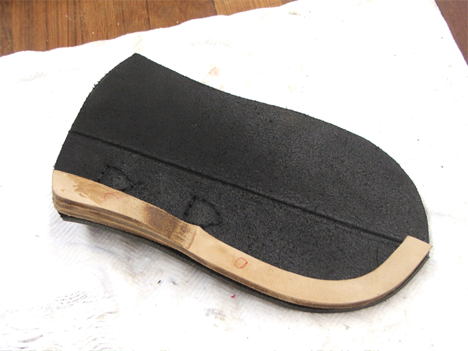
The welt is just sitting in place here, but note there is at least 10 – 12mmto be cut off the bottom of the welt in order to allow the main body of the sheath to fold over properly. Because the welt leather is so hard it is better to do this before it is glued on because one slip and you will cut right through the sheath.
When the welt is the right length and glued on one side of the body I try fitting the sheath and knife.
You can see here by using clamps to hold things together you can get a reasonable likeness to the sheath when it is fully assembled.
If it is too tight or too loose this needs to be dealt to at this stage.
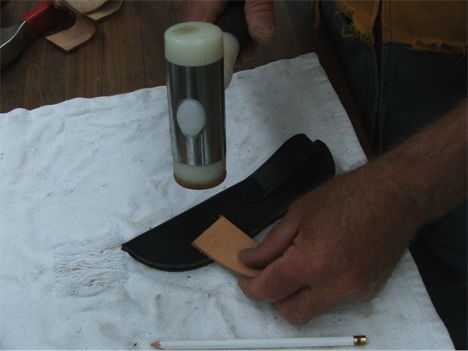
Now glue the second side of the sheath and welt and join. I use a mallet and piece of leather as a pad to set the glued joint.
When the glue is set I lightly sand the main edge of the sheath just to get all the leather “as one “so all the edges are lined up. This is important to get a good result from your stitching.
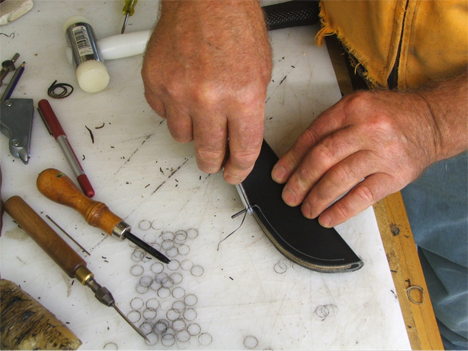
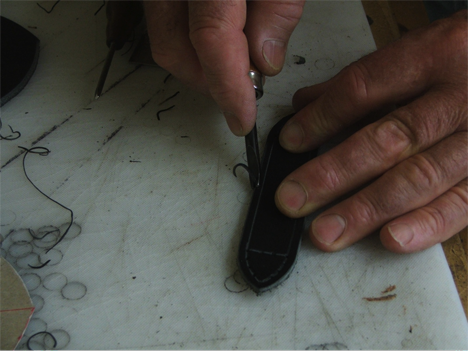
Now run a stitching grove around both sides of the sheath.
Along the grove run the over stitch wheel to mark the stitch holes.
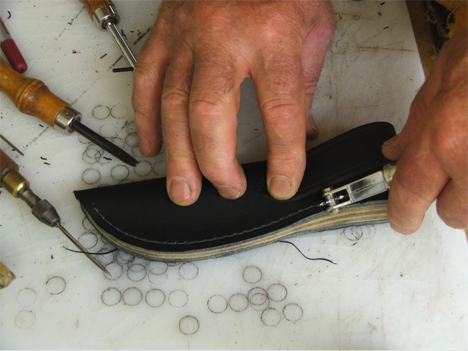
I then mark the holes further using a blunt needle in a handle. This just makes them clearer to drill.
I drill the holes in the main sheath stitching because of the hardness and thickness of the leather in it. In the handle area you have 3 thicknesses of sole leather and 2 thicknesses of sheath leather.
When the holes are marked with the overstitch wheel make sure to start at the same point on either side of the sheath so when the holes are drilled they line up.
I drill from both sides.
Place the sheath in the stitching pony and stitch as with the straps.
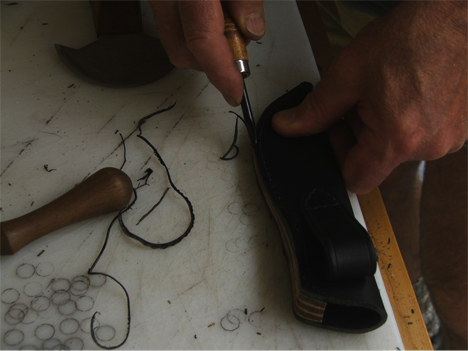
Then chamfer the edges of the sheath.
Next apply an edge finish to the welt area – in this case black
When that is dry burnish as you did to the strap.

And there you have it.
You have made a sheath that will last the test of time.