Your cart is currently empty!
THE MAKING OF A DAMASCUS BAR
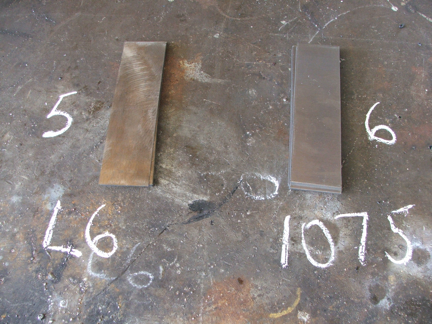
Here you will see the making of a Damascus bar starting with 11 layers
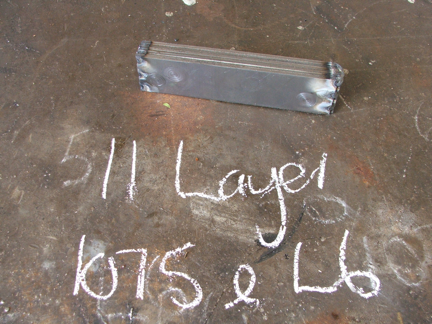
Here is the billet with the ends of the layers arc welded together.
The layers are alternating 1075 and L6.
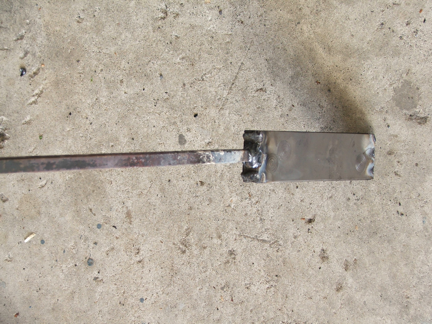
Above is the billet with the handle welded on
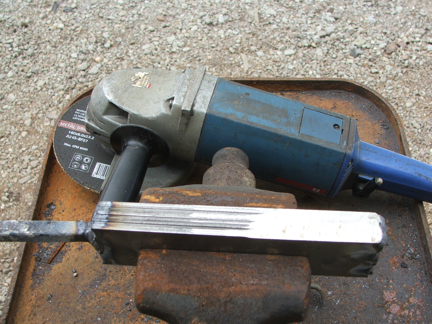
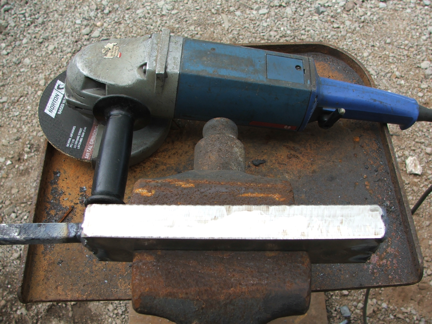
And now being ground down on the edges to make all of the layers flush with each other. The reason for this is when the billet is forged on edge if it is not all even, then often one layer if it is slightly proud of another one will be peened over and produce a fault in the bar.
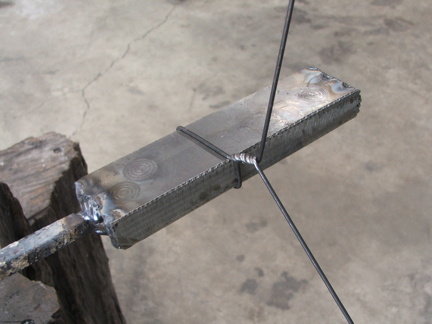
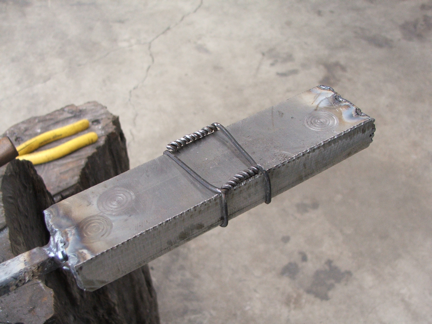
The above two photos are the wiring sequence for the billet to hold the layers together reasonably well as it is heated in the forge and stop them moving apart any more than necessary to avoid the build up of scale between the layers
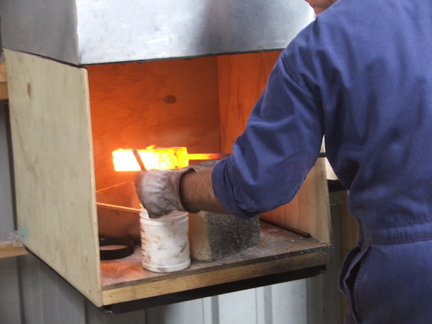
The bar was bought up to temperature, then fluxed.
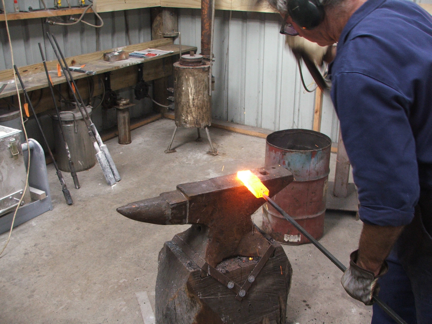
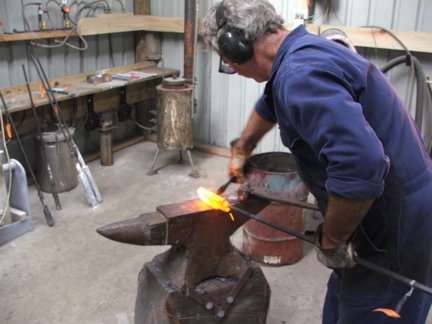
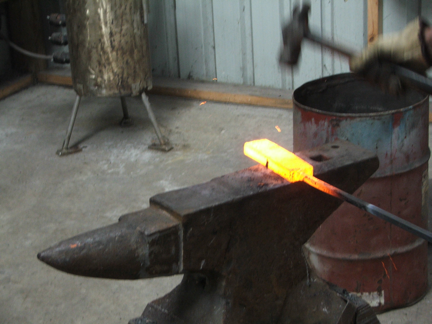
Then welded by hand on the anvil. This consisted of hammering the billet with overlapping blows. Because there is a very short timeframe in which to carry out the welding phase this was done in two stages by working the billet up to the wiring and then removing the wiring, re-fluxing, re-heating and then hammering the second section of the bar.
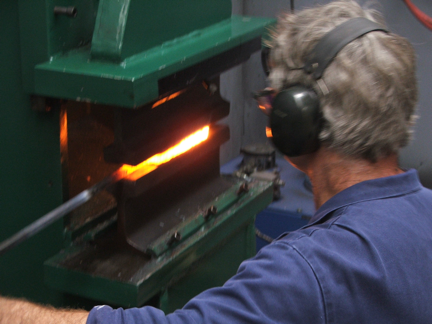
The bar was then put under the press for another welding stage.
And then finally under the power hammer for the final welding heat.
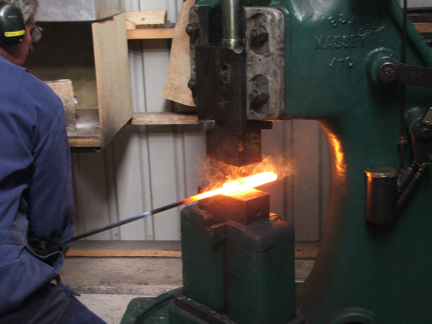
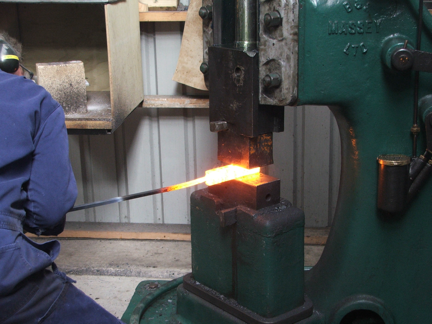
The bar was then drawn out to 300mm long and then marked as you see below
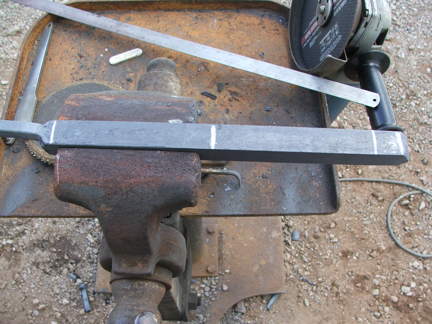
The bar was then cut in half
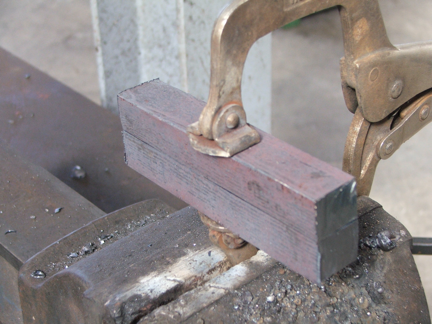
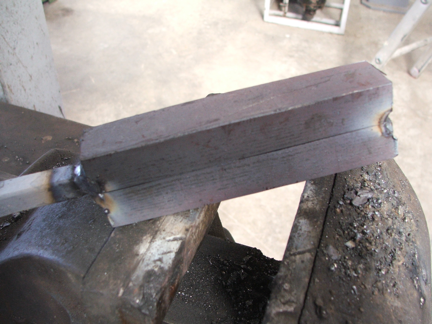
This was then clamped together and arc welded, handle added and then back to the forge for the next heat.
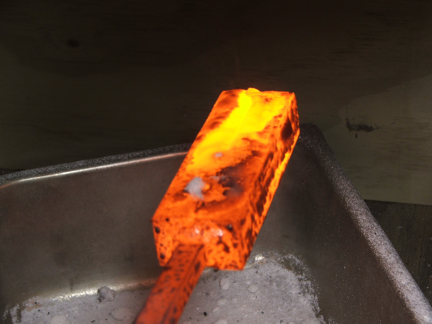
The above photo is of that bar being fluxed just prior to being welded again.
At this stage the bar has 22 layers in it. It is repeatedly welded, drawn out, cut and folded until the layer count is up the the required number. This bar went through the stages of being 11, 22, 44, 88, and 176 layers.
